Hi there, Y'all! Hope you are all having a wonderful summer. Me and my kiddos have been super busy! Of course I am working....but I am also a Mom...so I get to fit mall trips, movie night, lake outings, back yard B-B-Qs, picnics, beach trips and much more into my summer! I would have had these photos loaded much sooner, except my model was gone to church camp! lol.
I made it to round TWO for the May Arts Ribbonista Search! YAY ME!!!!
I decided to use the GORGEOUS star ribbon that is in the May Arts store and turn my little munchkin into Lady Liberty for the 4th of July Holiday. Here she is...with her bow, hand bag and a simple matching tank top:
I used a lot of this SUPER COOL star ribbon to create the American flag look.
Skye loved her ensemble...and she thought I should show you all how to do the
super simple handbag that I made.
Yep...That one right there:
For this project, You will need:
Canvas bag (I got mine at Hobby Lobby)
Red and white star ribbons from May Arts
Solid blue 1 1/2 inch grosgrain
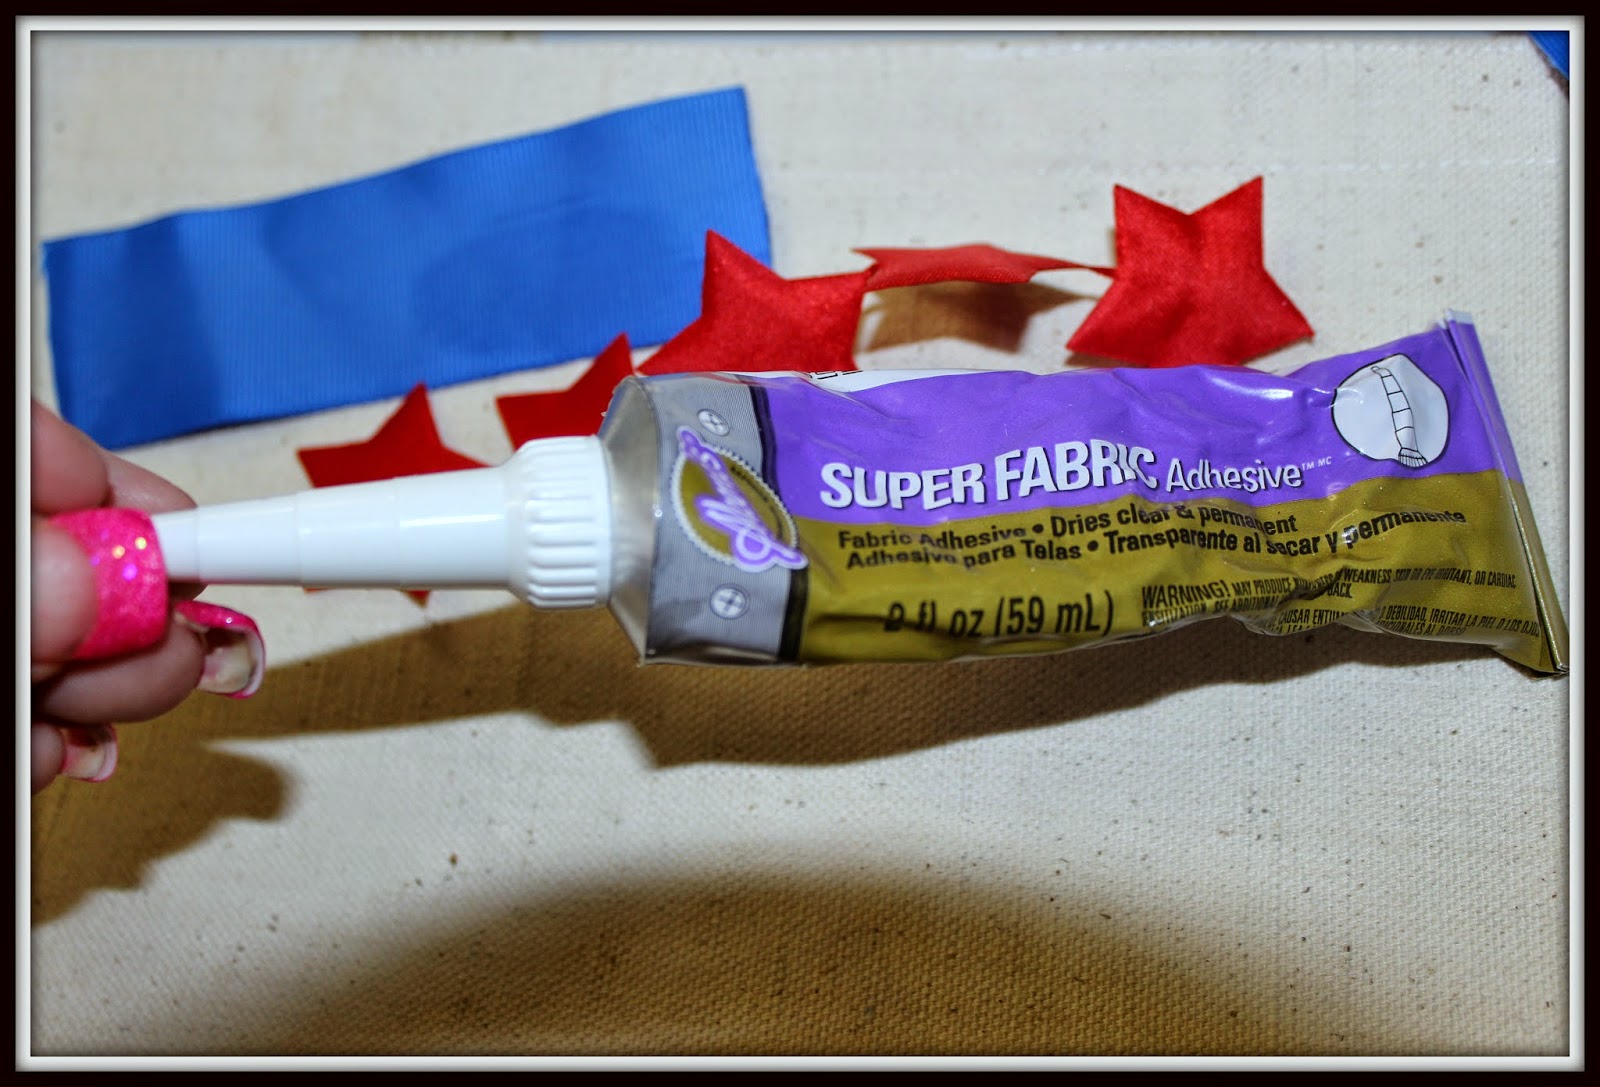
fabric glue
a lighter to seal your ribbon ends
and scissors
Since your canvas bag may be a different size than mine...
I will not use ribbon lengths...it honestly not that important in this project anyway.
I got my ribbons ready and started laying them out on the bag to gauge how many stars I would need for the flag.
For my bag, I needed 3 rows of 5 and 4 rows of nine, alternating red and white. I cut them and heat sealed the ends with a lighter.
I did cut 3 lengths of the solid blue grosgrain into 3 inch strips...then heat sealed the ends.
I then used my fabric glue and glued everything down.
I went through my stash and found a few metal stars to use
to represent the colonies. I hot glued those in place and VIOALA!!!
It is not an exact replica, but I think it turned out great!
Here is Little Lady Liberty, all dressed and ready to Party!
Hope your Holiday was FANTASTIC!
Wish me and Lady Liberty Luck making the May Arts ribbonista team!
Have a wonderful weekend!!


